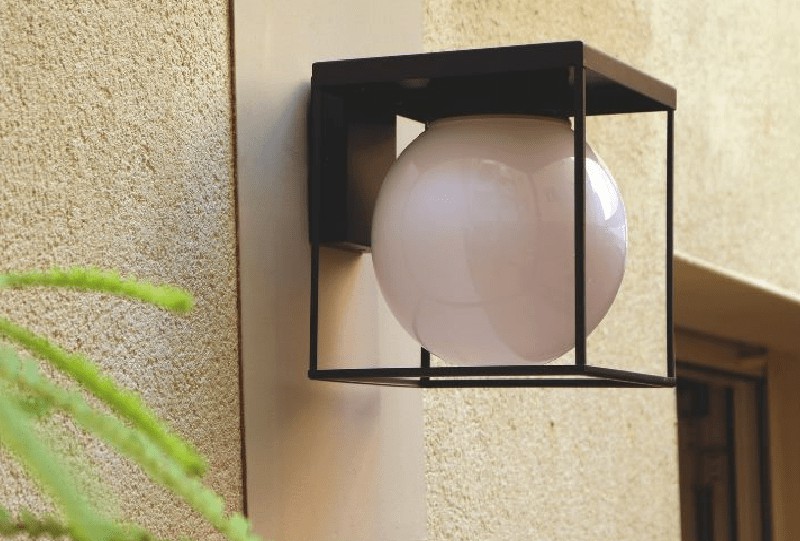
How to change an outdoor light fixture
Updating the lighting on your terrace or balcony not only improves the appearance of these spaces, but can also contribute to safety. In this post, we show you how to easily change an outdoor wall light, so you can give a new touch to your outdoor spaces.

Why replace an outdoor wall light?
Over time, it is common for outdoor wall lights to deteriorate due to their exposure to the elements. Renewing them not only improves the aesthetics of your patio, terrace or balcony, but can also ensure safe operation. In addition, these days, wall lights not only serve to illuminate, but also add style and personality to outdoor spaces.
The importance of IP protection
When selecting a new outdoor wall light, it is essential to ensure that it is suitable for outdoors. The key is to choose a wall light with an IP protection rating of at least 44. The IP protection standard indicates the level of resistance of the device to dust and water, so it is essential to ensure its durability in exposed environments.
The IP code consists of two numbers: the first indicates the degree of protection against dust (from 0 to 6) and the second refers to protection against water (from 0 to 9). A wall light with IP44 or higher guarantees that it will withstand inclement weather without compromising its performance.
Tools needed
To change an outdoor wall light, you will need the following tools:
- Drill and wall drill bit
- Screwdriver
- Wall plugs and screws (usually included in the package of the wall light)
- A new wall light and a light bulb
If you are missing any of these materials, you can always purchase them at your local hardware store.
Steps to change an outdoor wall light
1. Turn off the power: Before you begin, turn off the power at the main switchboard in your home to avoid accidents.
2. Remove the old light fixture: Take down the old light fixture. If the wall has any marks due to sun exposure or dirt, you can choose to paint the area or cover it with a metal, plastic or wooden plate to improve the aesthetic finish.
3. Install the base of the new light fixture: Mark the fixing points on the wall using the new light fixture as a guide. Use the drill to make the necessary holes and insert the wall plugs. Then, screw the base of the light fixture firmly to the wall.
4. Connect the electrical system: Strip the ends of the wires coming out of the wall if necessary and connect them to the terminal block of the light fixture, making sure to match the colors of the wires. This will ensure that the electrical system is safe and protected from rain and dirt.
5. Assemble the fixture: Once the wires are connected, assemble the remaining fixture parts following the instructions. Make sure everything is tight.
6. Install the light bulb: Install the appropriate light bulb in the fixture and turn the power back on at the electrical panel.
A quick and easy change
As you can see, replacing an outdoor light fixture is a simple task that you can do in a short time and without any prior electrical experience. Once finished, you will have given your outdoor space a new look and improved its lighting.
Explore the different light fixture designs at your local hardware store or online store, from minimalist and industrial styles to LED fixtures. Take this opportunity to combine functionality and style in the decoration of your patio or garden.


Our customers trust us
Opinions of our clients
Receive our news