How to hide a cable with a channel in a simple way
If you've ever had problems with visible cables, whether from a television, a lamp or any other appliance that needs to be plugged in, you've probably thought about how to hide them efficiently. In this post we'll explain how you can hide those cables using a cable duct quickly and without complications. Plus, you won't need heavy tools like drills, since we're going to use an adhesive cable duct. Read on to find out how to do it.

Tools and materials you need
Before you start, make sure you have everything you need on hand. The materials and tools you will use are:
- Adhesive channel
- Tape measure
- Small clamp
- Mini hacksaw
- Pencil
Step 1: Measure the length of the cable you want to hide
The first step is to measure the exact length of the cable you want to hide with the channel. This measurement is essential to cut the channel to the right length. We recommend that you do this measurement with the object already installed and plugged in, since if you measure before connecting the cable, you may get an inaccurate measurement and then have to adjust the channel again.
In our example, we measured with the TV already in place, to avoid mistakes and ensure that the channel completely covers the cable.
Step 2: Cut the channel to size
With the measurement already taken, it's time to cut the channel. For this step we'll use a mini hacksaw, which is perfect for this type of work. As always, safety comes first in any DIY task, so we recommend securing the channel to a work table using a small clamp. This way, you'll prevent the channel from moving and protect yourself from possible accidents.
Also, it's a good idea to wear gloves and protective glasses. Although the mini hacksaw is not especially dangerous, it's better to be safe. Cut along the mark you previously made with the pencil on the channel.
Step 3: Attach the channel to the wall
With the channel cut to size, the next step is to stick it to the wall. Since we're using an adhesive channel, you won't need to drill a hole. Just peel off the adhesive on the back of the channel and carefully place it on the wall.
It's important that before you stick it on, you've decided where to place it so that it looks as aesthetically pleasing as possible. Keep the surroundings in mind and make sure the channel follows a straight or harmonious line with the space.
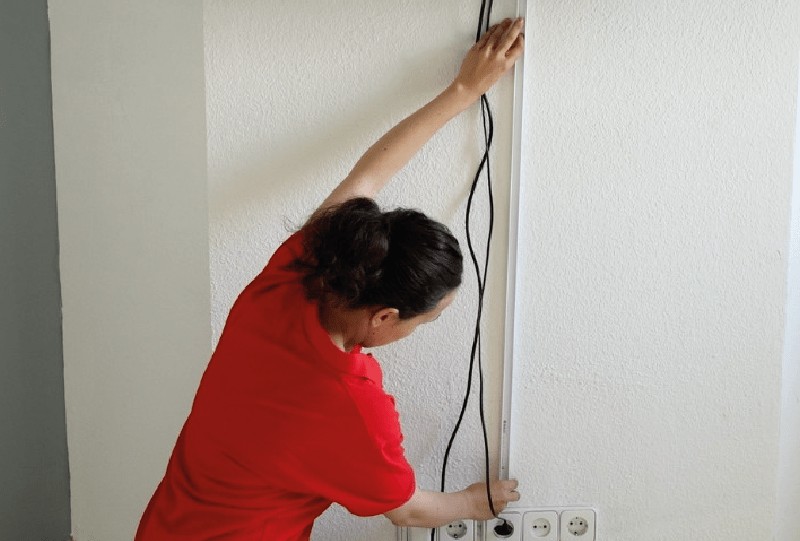
Step 4: Feed the cables into the channel
Now that the channel is properly positioned, it's time to feed the cables inside. Take your time to make sure that the cables are well distributed in the space of the channel, because once you have inserted them correctly, you will not have to worry about them in the future.
In our case, we took the opportunity to hide some of the wiring behind the television, which allowed us to shorten the length of the channel that we needed. Not only was this more practical, but it also gave a better aesthetic finish to the whole thing.
Step 5: Close the channel
The last step is to close the channel. Most adhesive channels come with a trim that you put on to cover the cable and give it a clean and tidy look. Make sure that the cover fits tightly and that the cables are completely hidden.
With these simple steps, you will have managed to hide the cables in an effective and aesthetically pleasing way. The cable duct not only hides the wiring, but also helps to organize the space, giving it a cleaner and more professional look.
Conclusion
Hiding cables with a cable duct is a simple process that does not require complex tools or advanced DIY knowledge. By following these steps, you can achieve a more organized space free of visible cables. This will improve both the appearance of your home and its safety, as you will avoid tripping over or getting tangled up in loose cables.


Our customers trust us
Opinions of our clients
Receive our news