How to paint sockets and switches to easily renew them
If you're looking for a simple way to give your home a new look, painting the sockets and switches can be a great option. Renewing these elements is not only easy, but can give a modern and personalized touch to your rooms without the need for major changes. Below, we explain how to do it step by step.
Materials and tools needed:
- Box cutter
- Painter's tape
- Spray paint
- Brown paper
- Cloth and alcohol
Step 1: Turn off the power and clean
Safety always comes first. Before you start working, make sure to turn off the power to the house to avoid any accidents. Next, take a cloth moistened with alcohol and thoroughly clean the sockets and switches. It's crucial that you remove any accumulated dirt or grease, as this will allow the paint to adhere properly and the finish to be uniform.
Step 2: Protect the area
To prevent paint from spreading to the walls or floor, it's important to protect the area around the socket or switch well. Use painter's tape and brown paper to cover the surrounding space. Make sure everything is covered well to avoid any unwanted paint stains. Using a utility knife, cut a gap in the paper right where the outlet or switch is, so that only the surface you're painting is exposed.
Step 3: Apply the spray paint
It's time to paint. Take the spray paint and make quick, short passes, keeping a distance of about 20 cm between the spray and the outlet or switch surface. This will help prevent paint build-up that can cause drips or unevenness. Apply a light coat and let it dry completely before applying a second coat. Depending on the shade you want, you may need two or three coats to achieve the perfect color.
Step 4: Let it dry and remove the covers
Once you have achieved the desired shade with the layers of paint, let the socket or switch dry completely. Make sure that the drying time is sufficient to prevent the paint from being damaged when removing the adhesive tape and the protective paper. When everything is dry, carefully remove the covers and make sure that there are no traces of paint outside the desired area.
Final result
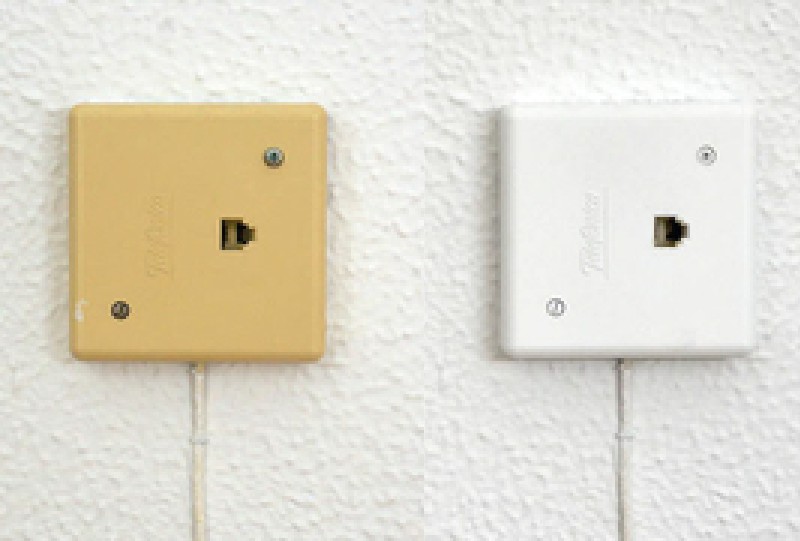
When finished, your sockets and switches will look like new, adding a modern and renewed touch to your home. The best thing about this project is that you can choose any color that matches the decoration of your house, giving it an original and personal touch.
This project is easy to do, and with a little dedication, you can transform small details into great improvements for the aesthetics of your rooms. Let's get to work!
Other related articles
 April 16, 2025
How to clean an osmosis system?
Complete guide to maintaining your reverse osmosis system.Regular cleaning and maintenance of … April 14, 2025
COMFORT: Efficiency and savings in hot water recirculation
COMFORT hot water recirculation pumps are designed to ensure maximum energy efficiency … April 10, 2025
How much space can I cool with an air conditioner?
The amount of space that an air conditioner can cool depends on … April 7, 2025
Top 5 best air conditioners in 2025
If you are thinking of buying an air conditioner, now is the … April 4, 2025
Our customers trust us
Opinions of our clients
Receive our news